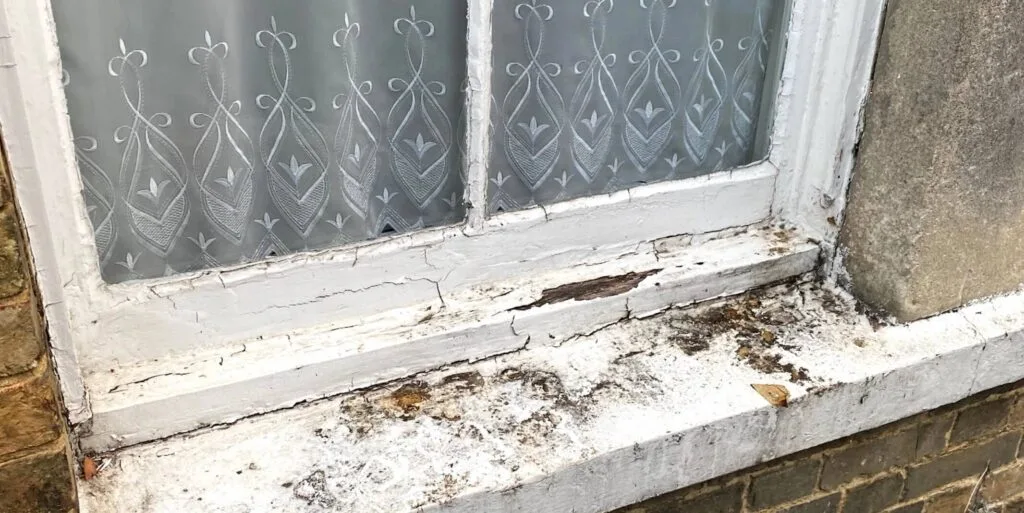
The problem is that windows do need to open and close otherwise, they are perfectly useless. A window that won’t do either or which puts up a fight every time is one of the most frustrating things on the planet, and it can be dangerous. If the mechanism isn’t operating correctly, or you have cobbled together a DIY way to prop it open, then you may be moving closer to the French Revolution than you realise.
Some homeowners fear getting embroiled with their sash windows believing that the route to managing them lies somewhere between total avoidance and black magic. The hidden mechanism of weights, cords and pulleys also has a mystical and fearful reputation, and most householders have never even seen this exposed, so they can’t envisage what it looks like. However, now could be the time to make peace with your sticky sash – resolving the problem might be easier than you think.
Figure out What’s Broken
There are many reasons why a sash window won’t operate properly. One is that it’s been painted shut, or there are just too many paint layers, and the other is that one of the sash cords is broken. Working out why the window won’t function dictates what you do next. After all, no one wants to take the sashes apart for fun. We’re going with stretched, frayed or broken sash cords, as this is one of the most common reasons sash windows fail.
Remove the Lower Window
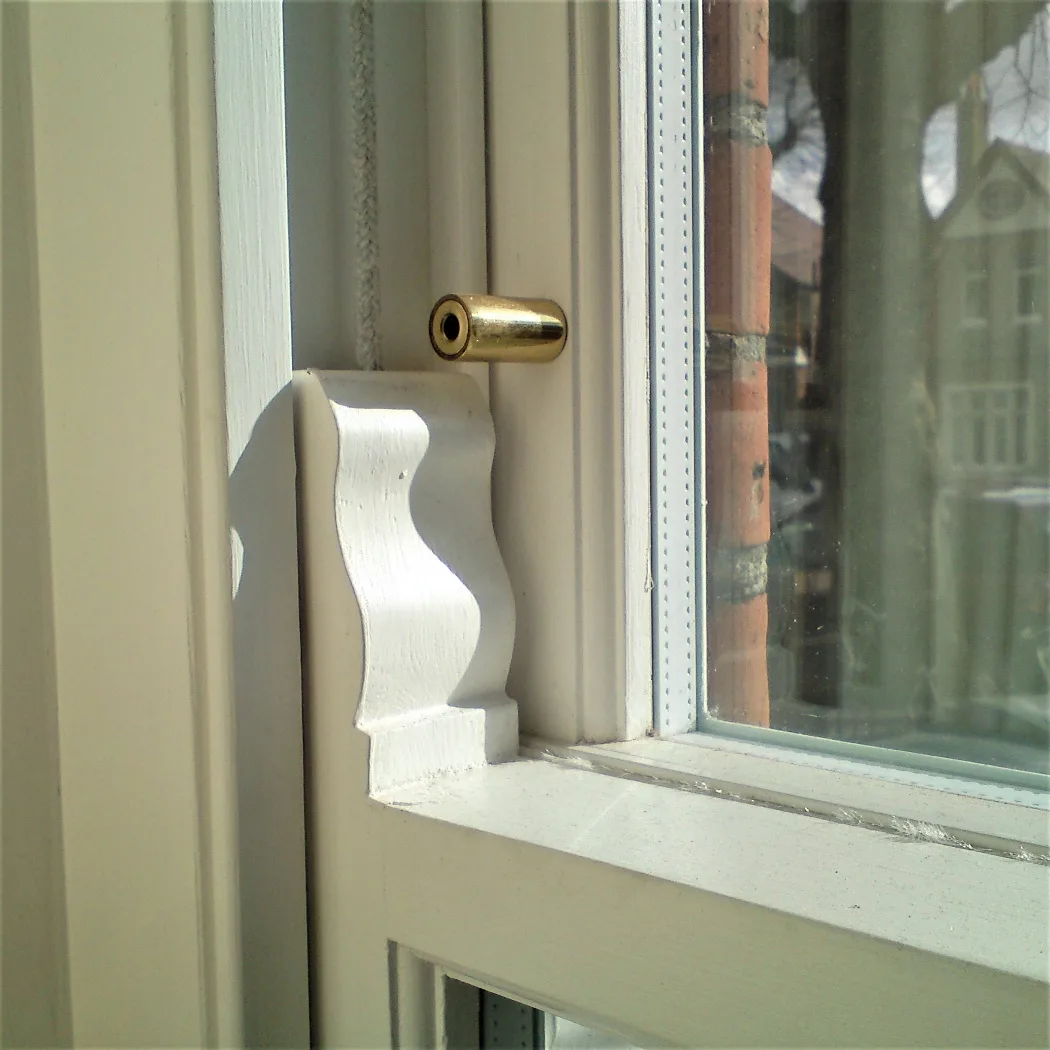
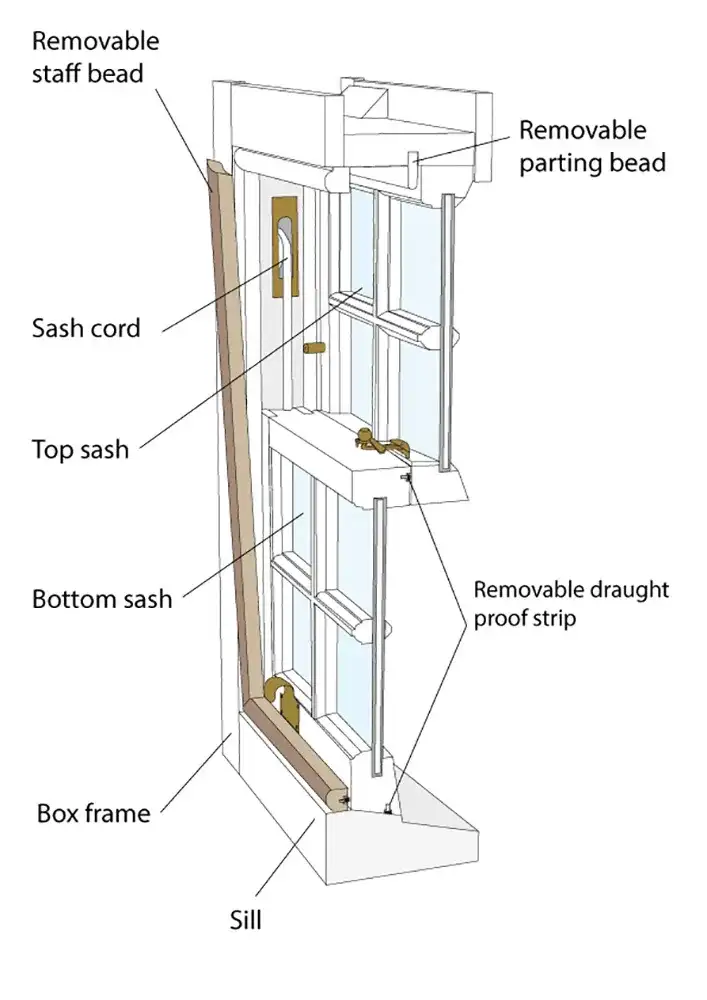
This is not as difficult as it sounds. The lower sash is held in place by two thin vertical strips of wood called inner staff beads. They look like part of the window moulding but are, in fact, detachable, held in place by ten or twelve small headless nails. Using a chisel between the bead and the moulding and tapping it with a wooden mallet is enough force to prize the beading way. Don’t be put off when you hear the paint crack or if the beads fall apart in several pieces!
Before you start, it can be helpful to understand the construction of a sash window with a simple illustration.
The lower sash should come out easily; if it doesn’t, then it’s probably still attached to the cords on one side. Cut the cord (yes, this is symbolic) as if you’re going to replace one cord, then you might as well do both of them to save having to repeat this process. Just be careful that the unsupported weight doesn’t fall heavily to the bottom of the box. Always carefully put the sash away to one side while working on the mechanism. This is the voice of experience from someone who has put their foot through a sash window pane on more than one occasion.
Once you have removed the lower sash, you’ll see what’s called a vertical parting bead which separates the lower from the upper sash. If you want to push the boat out and repair the upper sash, you’ll need to remove this too. However, one sash may be enough excitement for the year.
Remove the Sash Weights
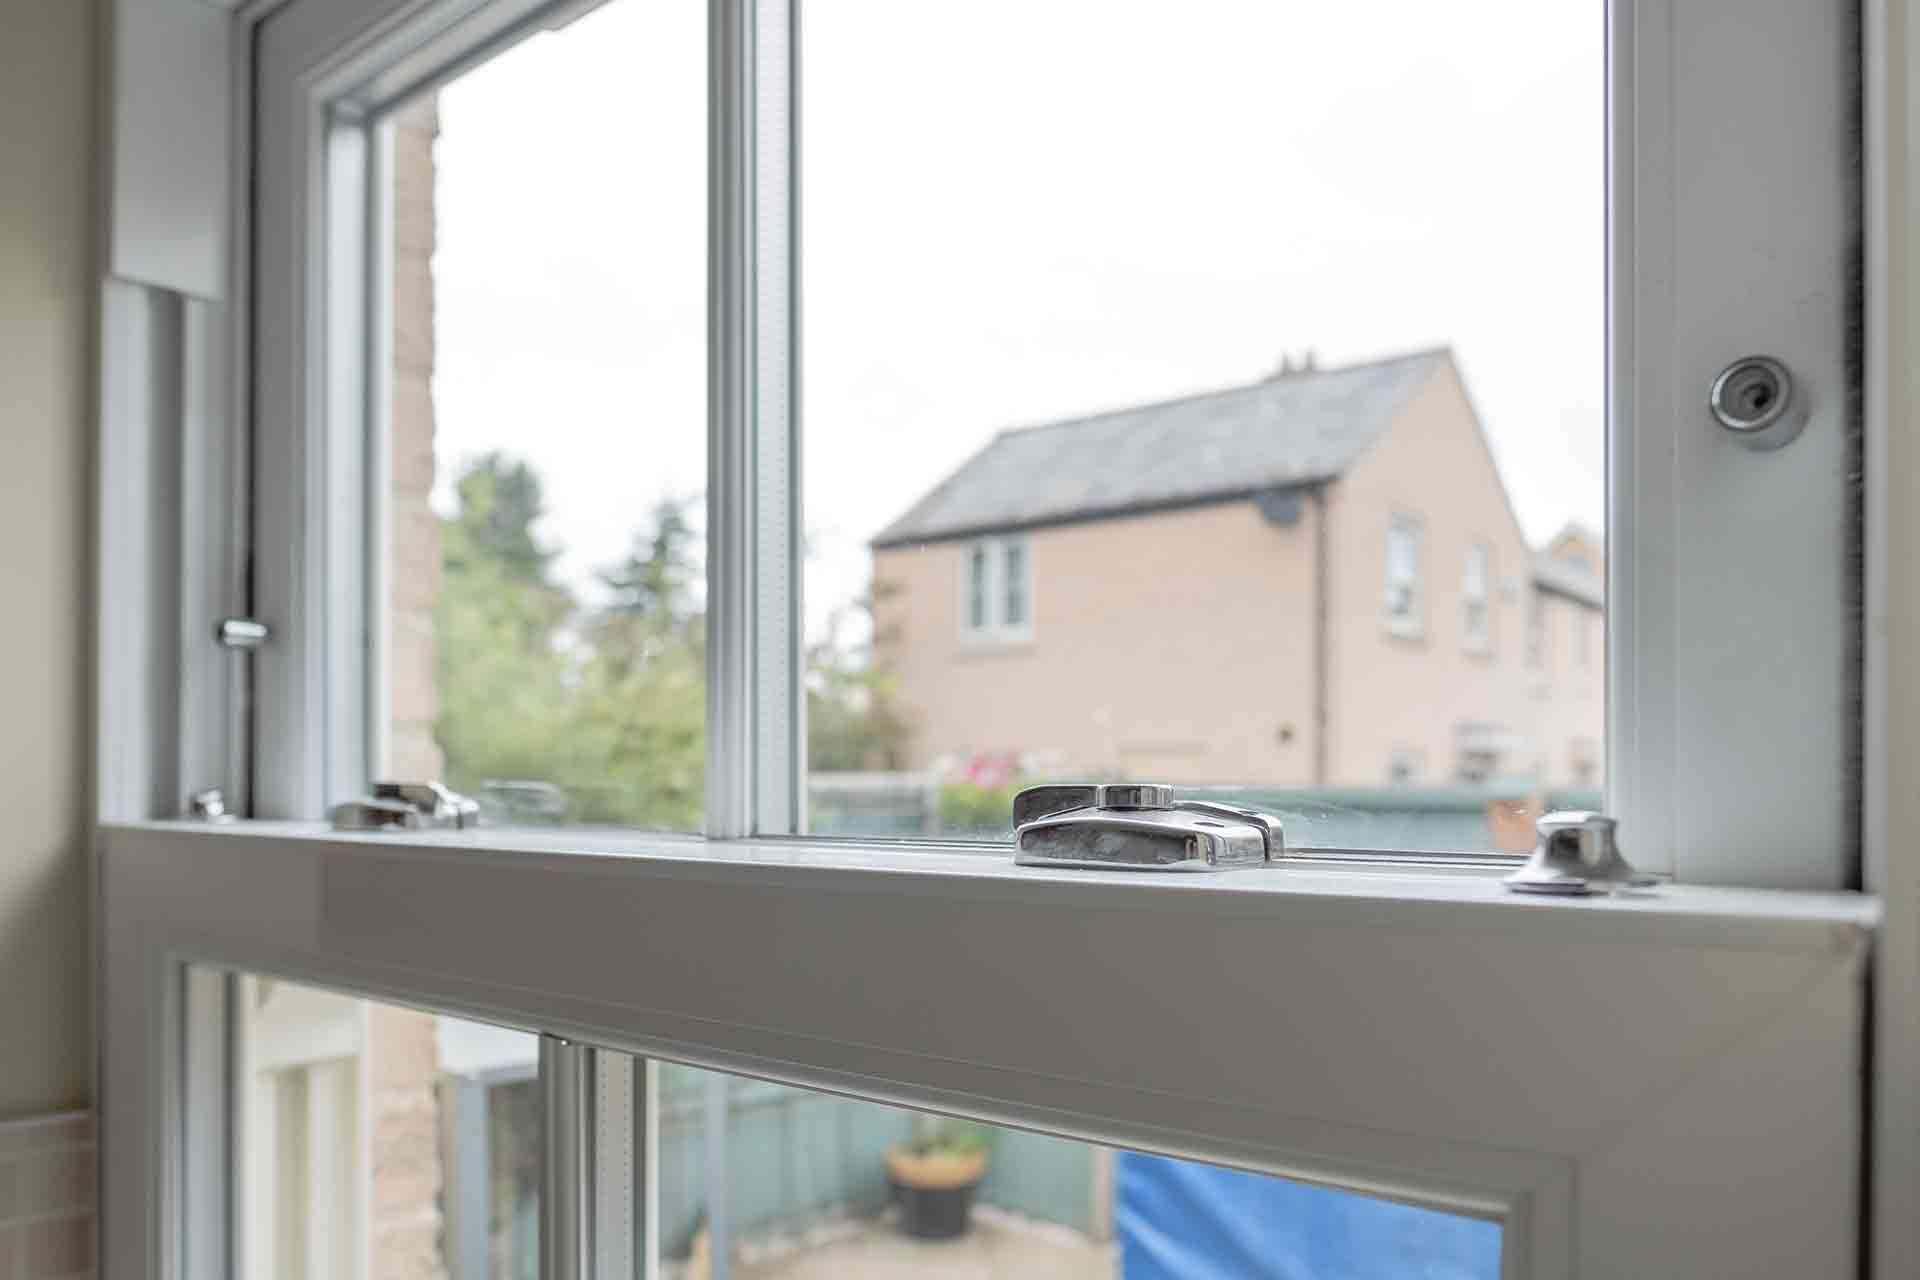
If you can’t see the weights, don’t worry, you’re not supposed to be able to see them; they are hidden in compartments which usually have an access pocket. You should be able to prize this out, but someone unhelpfully may have secured it with nails or screws. Take the weights out and then check that the pulleys are running freely; often, they can be gummed up with layers of old paint.
Fix New Cords to the Weights
Buy bespoke sash window cord. It’s pre-stretched to avoid the problem of it fraying or gradually failing once it’s been in use for a while. Sash window cord comes in different widths; it can be hard to guess until you have taken the window apart, but you may not want to wait for a delivery from Amazon whilst you have a hole in the wall. If you buy the wrong cord and it’s too thin, use a larger knot to stop it from running back through the hole in the weight.
Fit the new cord up and over the pulley, down into the sash weight compartment and out again at the bottom. There is lots of online help via YouTube for the bewildered.
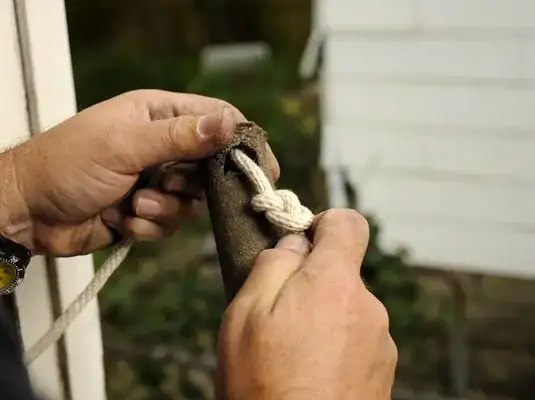
Next, tie the new cords to the original weights. There will be a hole in the top of the weight through which you feed the cord, then out of the side, before securing it with a figure of eight knot (also available on YouTube) or a stop knot so it doesn’t unravel through the hole. Cut off any excess cord.
Reinsert the weights and secure the wooden pockets. Usually, the cord is tacked into a pre-designed groove with what are called three or four ‘clout nails’, but you don’t need to use special nails; any will do.
Replace the Lower Sash
Put the sash back but leave it leaning towards you at the top. Pull the sash weights right up to the pulley and keep the cord as taut as possible whilst you nail it into the groove on the side of the frame. This is where an extra pair of hands will come in useful. Once the cords are secured on both sides, the theory is that the window should sit perfectly and slide up and down easily. Always keep the phone number of a restoration specialist on speed dial. When you put the inner staff beads back, tack them in place first to ensure they don’t interfere with the window operation before nailing them more securely. Of course, it will look like a right mess, but that’s because it now needs painting!
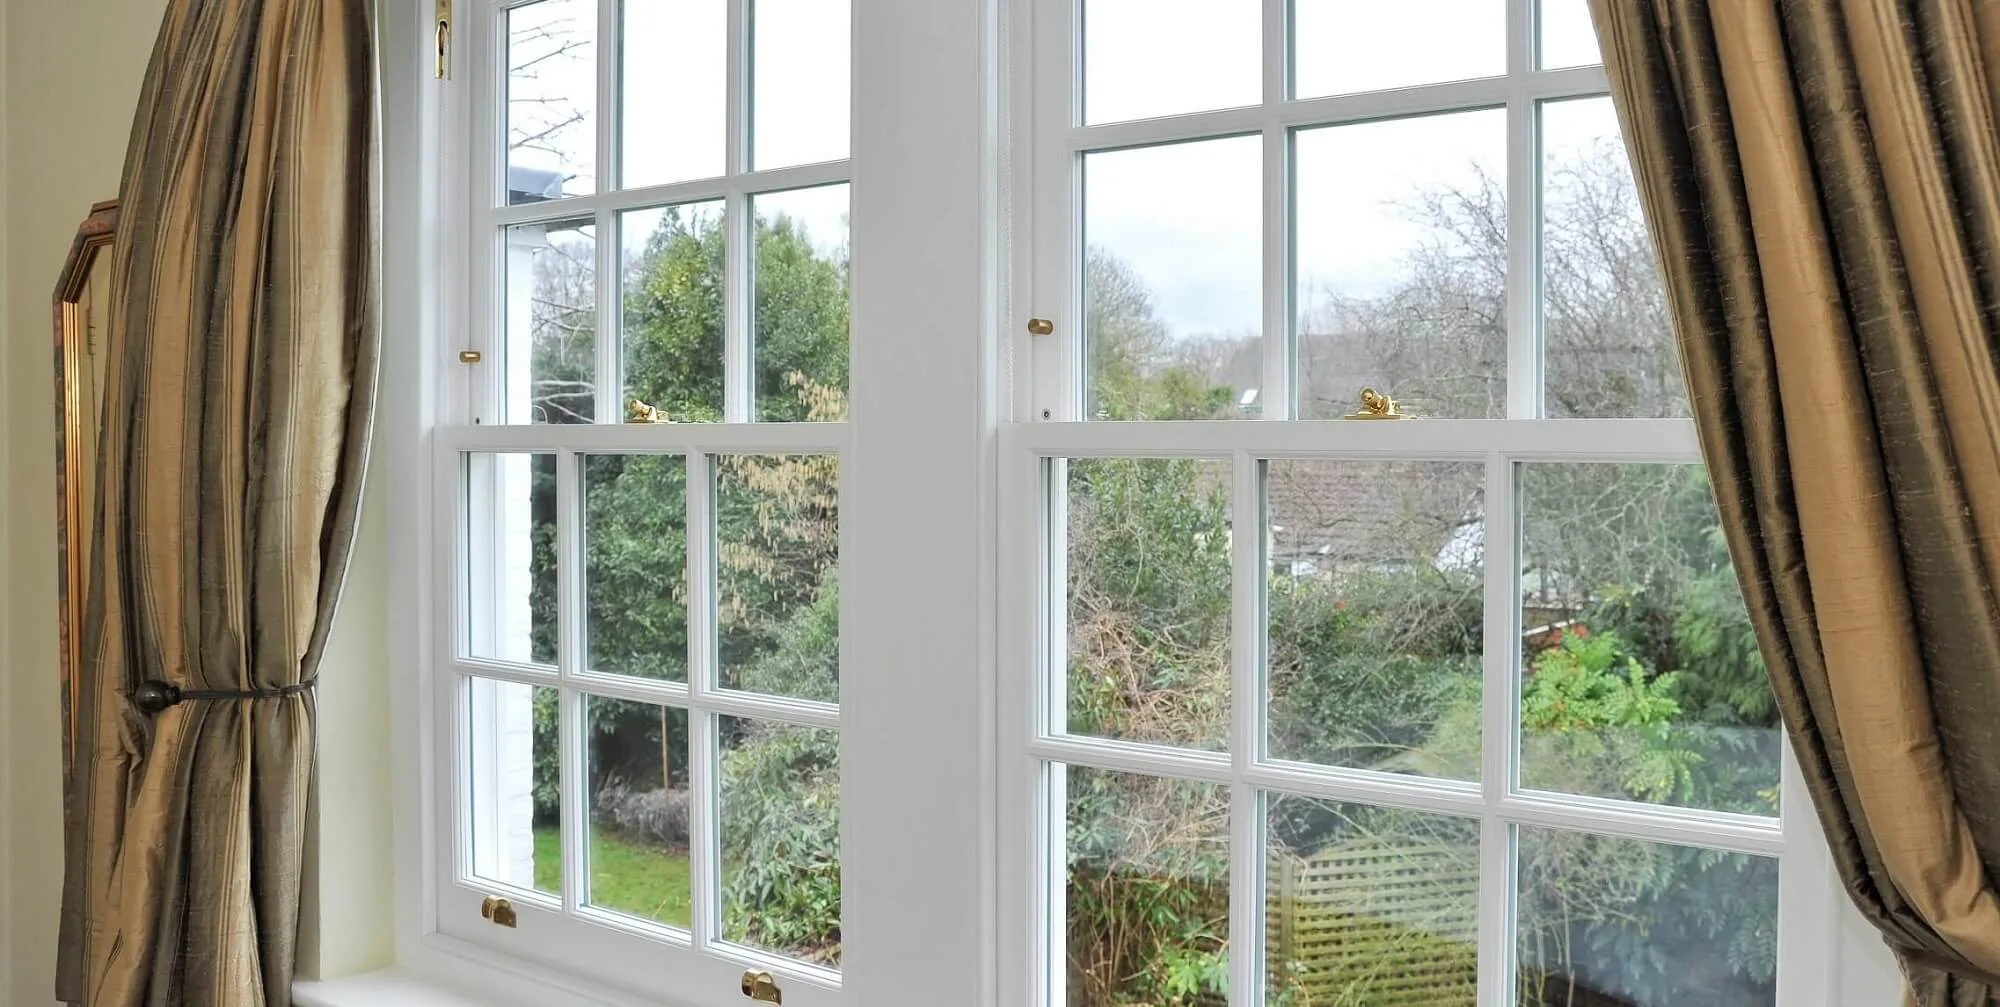
We bespoke design and make timber sliding sash windows in any design and size for new builds, historic ancient houses, and everything in between. Choose your paint spray or stain colour. We blend modern materials with traditional methods and old-fashioned craftsmanship to produce the best fusion of old and new. Our windows offer supreme 21st-century comfort with optimal thermal regulation, acoustic control, draught sealing and security. We also repair and restore old sash windows and supply bulk orders to the construction trade.
Contact us here to learn more about bespoke sliding sash windows and our repair and restoration services.